
How to Package CGM Sensors Safely for Shipping: The Complete 2026 Guide
- Updated April 21, 2026
- 10-minute read
- Reviewed by CGM Buyers Editorial Team
⚡ Quick Answer
To package CGM sensors safely, use a rigid cardboard box (not an envelope), wrap each sensor individually with bubble wrap, seal the box tightly with clear packing tape, and label it “Fragile – Medical Supplies.” Always ship with a tracked and insured label from a verified buyer.
If you’ve decided to sell your unused Continuous Glucose Monitoring (CGM) sensors, you’re already halfway to prepare your sensors for shipment But there’s one critical detail that determines whether your sale goes smoothly: how you package your CGM sensors safely for shipping.
Every week, buyers like CGM Buyers receive boxes that are damaged, dented, or mislabeled. These mistakes can cause payment delays or rejections even when the product itself is fine.
This guide will walk you through every step from prep to delivery so your package arrives in perfect condition and your payout is processed fast.
Why Proper Packaging of CGM Sensors Matters
Proper packaging of CGM sensors prevents damage, reduces rejection risk, and helps streamline the inspection and processing of your shipment. Using protective materials and secure packing methods keeps sensitive medical devices intact during shipping and helps buyers verify your items quickly without delays or deductions.
A crushed box can make your item unsellable, while missing documentation can delay payments by several days.
Three reasons careful packaging matters
- Prevents product damage: CGM sensors are fragile and may no longer meet buyer requirements if damaged.
- Maintains temperature integrity: Tight packaging helps insulate against heat or cold during transit.
- Ensures smooth buyer processing: Organized, labeled shipments are easier to inspect and process efficiently.
Pro Tip: Think of your shipment as a professional transaction, not a return. Proper packaging helps protect your products during transit and supports a smoother inspection process.
Step-by-Step: How to Package CGM Sensors Safely
To package CGM sensors safely, use a rigid box, wrap each item individually, secure the contents to prevent movement, include your order details, seal the package properly, and ship with a tracked prepaid label. Following these steps ensures your shipment arrives intact and qualifies for payment.
Step 1: Gather Your Packaging Supplies
Start with professional-grade materials. Skip recycled boxes or paper envelopes they increase the risk of rejection.
You’ll need:
- A sturdy cardboard box (6x6x6 or 8x8x8 works best)
- Bubble wrap or air-filled padding
- Clear packing tape (avoid colored or decorative tape)
- Printed shipping label
- Order confirmation or submission details
- Optional: clean plastic bags or ziplocks for moisture protection
Avoid using:
- Soft padded envelopes they crush easily.
- Newspaper ink can stain your product box.
- String or masking tape they loosen in transit.
Step 2: Inspect Your CGM Sensors
Before you pack, make sure each sensor meets resale standards. Most buyers, including CGM Buyers, accept factory-sealed, unexpired, and undamaged sensors.
Check for:
- Sealed packaging: No broken seals or open flaps.
- Readable labels: No fading or sticker residue.
- Expiration date: At least 6 months of shelf life remaining.
- Verify that your products meet the buyer’s current eligibility requirements before shipping
If any box looks questionable, reach out to customer support before shipping. It’s better to confirm eligibility than risk rejection.
Pro Tip: Take a clear photo of your CGM boxes before packing. It serves as proof of condition if your package is delayed or mishandled by USPS.
Step 3: Wrap Each Sensor Individually
Each CGM sensor should be wrapped separately to prevent friction and corner dents during transit.
Here’s how:
- Cut a sheet of bubble wrap large enough to cover the box twice.
- Place the sensor in the center and fold the wrap tightly.
- Secure it with a small piece of tape.
- Repeat for every sensor box.
If you’re sending multiple brands or models, separate them with paper dividers or plastic bags labeled with the model name (e.g., Dexcom G7, Freestyle Libre 3).
Step 4: Choose the Right Shipping Box
The right box size matters. A box that’s too small can burst open; one that’s too large can let items shift and crush each other.
Ideal sizes:
- Small shipments (1–3 boxes): 6x6x6 inches.
- Medium shipments (4–6 boxes): 8x8x8 inches.
- Large shipments (7+ boxes): 10x10x8 inches.
Line the bottom of your box with a layer of bubble wrap or packing paper. Arrange sensors upright or flat (never diagonally). Fill empty gaps with paper until there’s zero movement when the box is shaken.
Pro Tip: Avoid Styrofoam peanuts they can shift during transit and crush smaller boxes.
Step 5: Include Your Documentation
Every package should include a printed order confirmation or submission details.
This ensures your shipment can be matched quickly once it arrives. For sellers using CGM Buyers:
- Print the email confirmation or order summary page.
- Write your name, email, and phone number on the page.
- Place it inside the box on top of your wrapped sensors.
Missing documentation is one of the top causes of processing delays and payment hold-ups.
This information helps the buyer match your shipment to your submitted order details quickly.
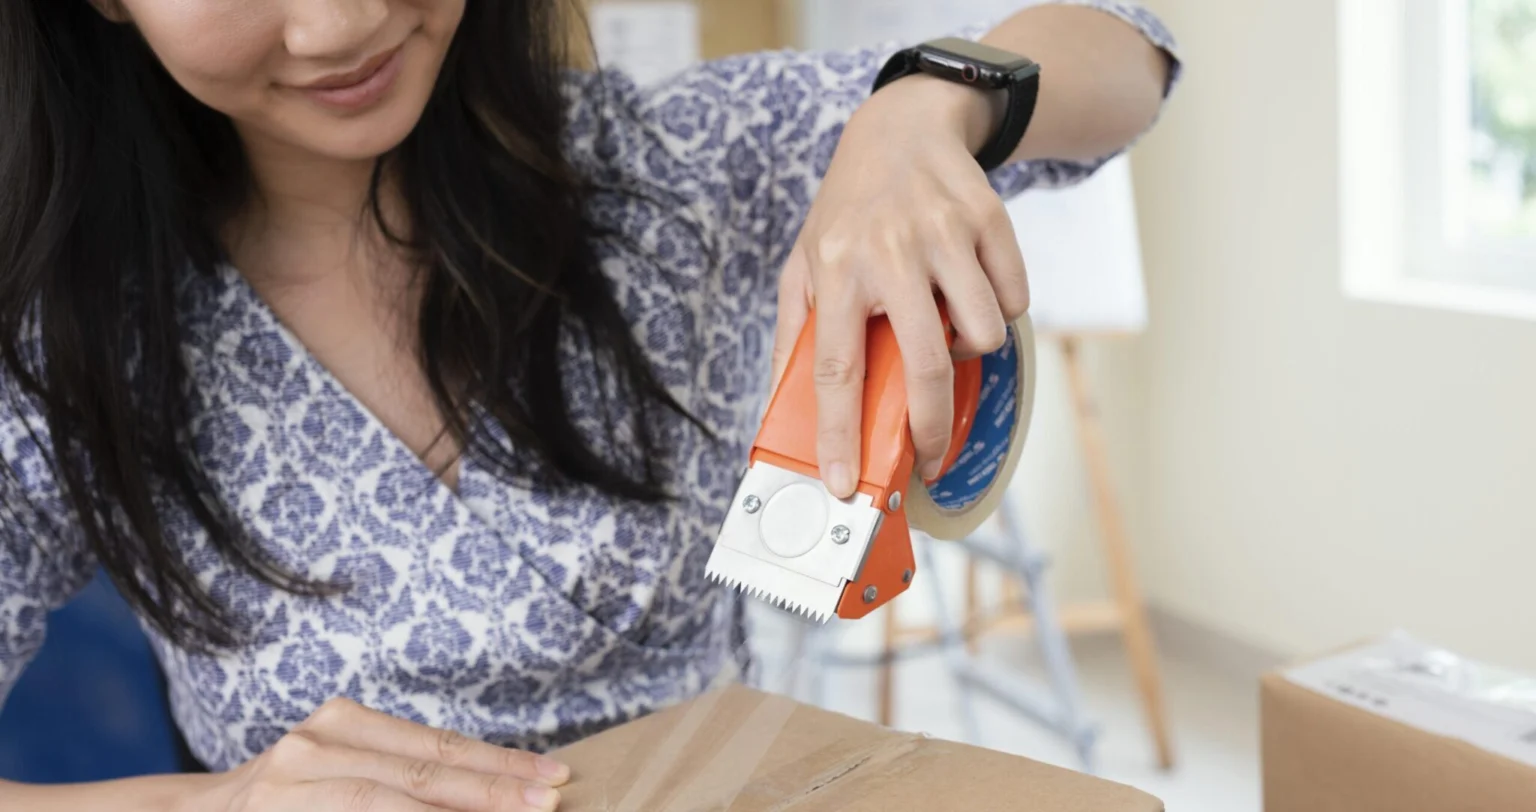
Step 6: Seal and Label Your Box Properly
Once everything’s inside:
- Close all flaps neatly.
- Use clear packing tape to seal all edges top, bottom, and sides.
- Reinforce the center seam with two overlapping strips of tape.
Label the box clearly:
“Fragile – Medical Supplies. Handle with Care.”
Then, securely tape your prepaid shipping label (provided by your buyer) to the top surface. Cover it with clear tape to protect against rain or smudges.
Pro Tip: Never reuse an old label. Each shipment has a unique tracking ID linked to your order.
Step 7: Ship Early & Track Delivery
Timing matters when mailing medical supplies.
Best practice:
- Ship Monday through Wednesday to avoid weekend storage delays.
- Drop off your package at an official USPS, not an outdoor drop box.
- Ask for a tracking receipt that activates your shipment’s insurance coverage.
Once received, CGM Buyers typically issues payments within 2 business days after inspection.
Comparison: Common Packaging Mistakes vs. Best Practices
| Common Mistake | Why It’s a Problem | Correct Approach |
| Using padded envelopes | Sensors get crushed easily | Use rigid cardboard boxes |
| No individual wrapping | Boxes rub and bend | Wrap each sensor separately |
| Leaving empty space | Items shift during shipping | Fill with packing paper |
| Peeling off pharmacy labels | Damages box surface | Let buyers remove labels safely |
| Shipping on Friday | Weekend delays & heat exposure | Ship early in the week |
How to Package CGM Sensors by Brand
Different CGM brands require slightly different packaging approaches due to size, shape, and sensitivity. Proper handling for each type ensures product integrity during shipping and prevents damage that could affect product eligibility during inspection.
Dexcom G6 / G7 Sensors
- Keep sensors upright and stable.
- Wrap transmitters separately in small plastic bags.
- Avoid compressing boxes G6 and G7 packaging is thinner than others.
Freestyle Libre 2 / 3 Sensors
- These are round, compact sensors that ship in small boxes.
- Layer bubble wrap between stacked boxes.
- Make sure adhesive patches inside the sensor kits remain sealed.
Medtronic Guardian™ Sensors
- These are bulkier and include reusable transmitters.
- Cushion transmitters individually to prevent contact with hard surfaces.
- Do not stack more than 4 boxes in a single layer.
For accepted CGM models, see the Sell Supplies Page.
Understanding Shipping Insurance for CGM Supplies
Shipping insurance protects your CGM supplies against loss, theft, or damage during transit. When using a prepaid label from a verified buyer, insurance and tracking are typically included, ensuring your shipment is covered and traceable until it reaches the processing center.
When you ship through us:
- You receive a prepaid USPS label with tracking and insurance.
- Your shipment is covered for loss, theft, or damage.
- Tracking updates are sent automatically to your email.
If you choose to self-ship (not recommended), make sure to:
- Use Priority Mail with insurance.
- Add signature confirmation for expensive shipments.
- Keep photos of the sealed box and your receipt.
Pro Tip: Always retain your tracking information until your shipment has been processed.
Advanced Packing Tips for Regular Sellers
Advanced packing techniques help frequent sellers reduce errors, improve efficiency, and protect shipments at scale. Using organized packing stations, pre-sorted inventory, and consistent materials ensures faster preparation and minimizes the risk of damage or processing delays.
1. Keep a dedicated shipping kit
Include:
- Bubble wrap rolls
- Standard-size boxes
- Label printer
- Packing tape dispenser
- Plastic sleeves for paperwork
This reduces prep time for recurring shipments.
2. Create a “packing station”
Set up a small table with clean space and good lighting. It prevents accidental mixing of products or missed labels.
3. Label your inventory before packing
Attach sticky notes with expiration dates or model names to keep everything organized during bulk shipments.
4. Reuse shipping boxes responsibly
Recycling is fine but remove old labels, barcodes, and any branding that could confuse postal scanners.
Do’s and Don’ts for Safe Mailing of CGM Sensors
| Do’s | Don’ts |
| Use a sturdy, rigid box | Use soft envelopes or flimsy cartons |
| Wrap each sensor separately | Stack boxes without padding |
| Include your order form | Forget documentation |
| Label package “Fragile” | Leave it unlabeled |
| Ship midweek | Ship on Friday or during holidays |
| Keep tracking info | Toss receipts before payment |
Frequently Asked Questions About Packaging CGM Sensors
How should I pack CGM sensors?
Use a rigid cardboard box, wrap each item individually with bubble wrap, include your order confirmation, seal the box securely, label it “Fragile – Medical Supplies,” and use your prepaid shipping label for tracking and insurance.
Can I use a padded envelope instead of a box?
No. Envelopes don’t protect sensors from crushing. Always use a sturdy box to ensure your supplies arrive intact.
How do I protect CGM sensors from heat or cold during shipping?
Avoid leaving packages outdoors or in cars. Ship early in the week and use insulated packaging materials if you live in an area with extreme temperatures.
Do I need to buy insurance separately?
If you’re using CGM Buyers prepaid label, insurance is already included. If you’re shipping independently, purchase USPS Priority Mail insurance.
What happens if my shipment gets lost or delayed?
If your package is lost, insured shipments are eligible for reimbursement once the carrier confirms non-delivery. Always keep your tracking receipt until payment is issued.
Final Takeaway
Proper packaging is not just a formality, it’s the difference between a smooth transaction and a rejected shipment.
When you package your CGM sensors safely, you:
- Protect your shipment.
- Avoid processing delays.
- Build trust with verified buyers.
CGM Buyers simplifies this process with:
- Free, insured shipping labels.
- Step-by-step packing guidance.
Start your shipment today with CGM Buyers. Use a prepaid insured label, pack your sensors securely, and receive payment within 2 business days after inspection—no delays, no confusion, and no unnecessary steps.